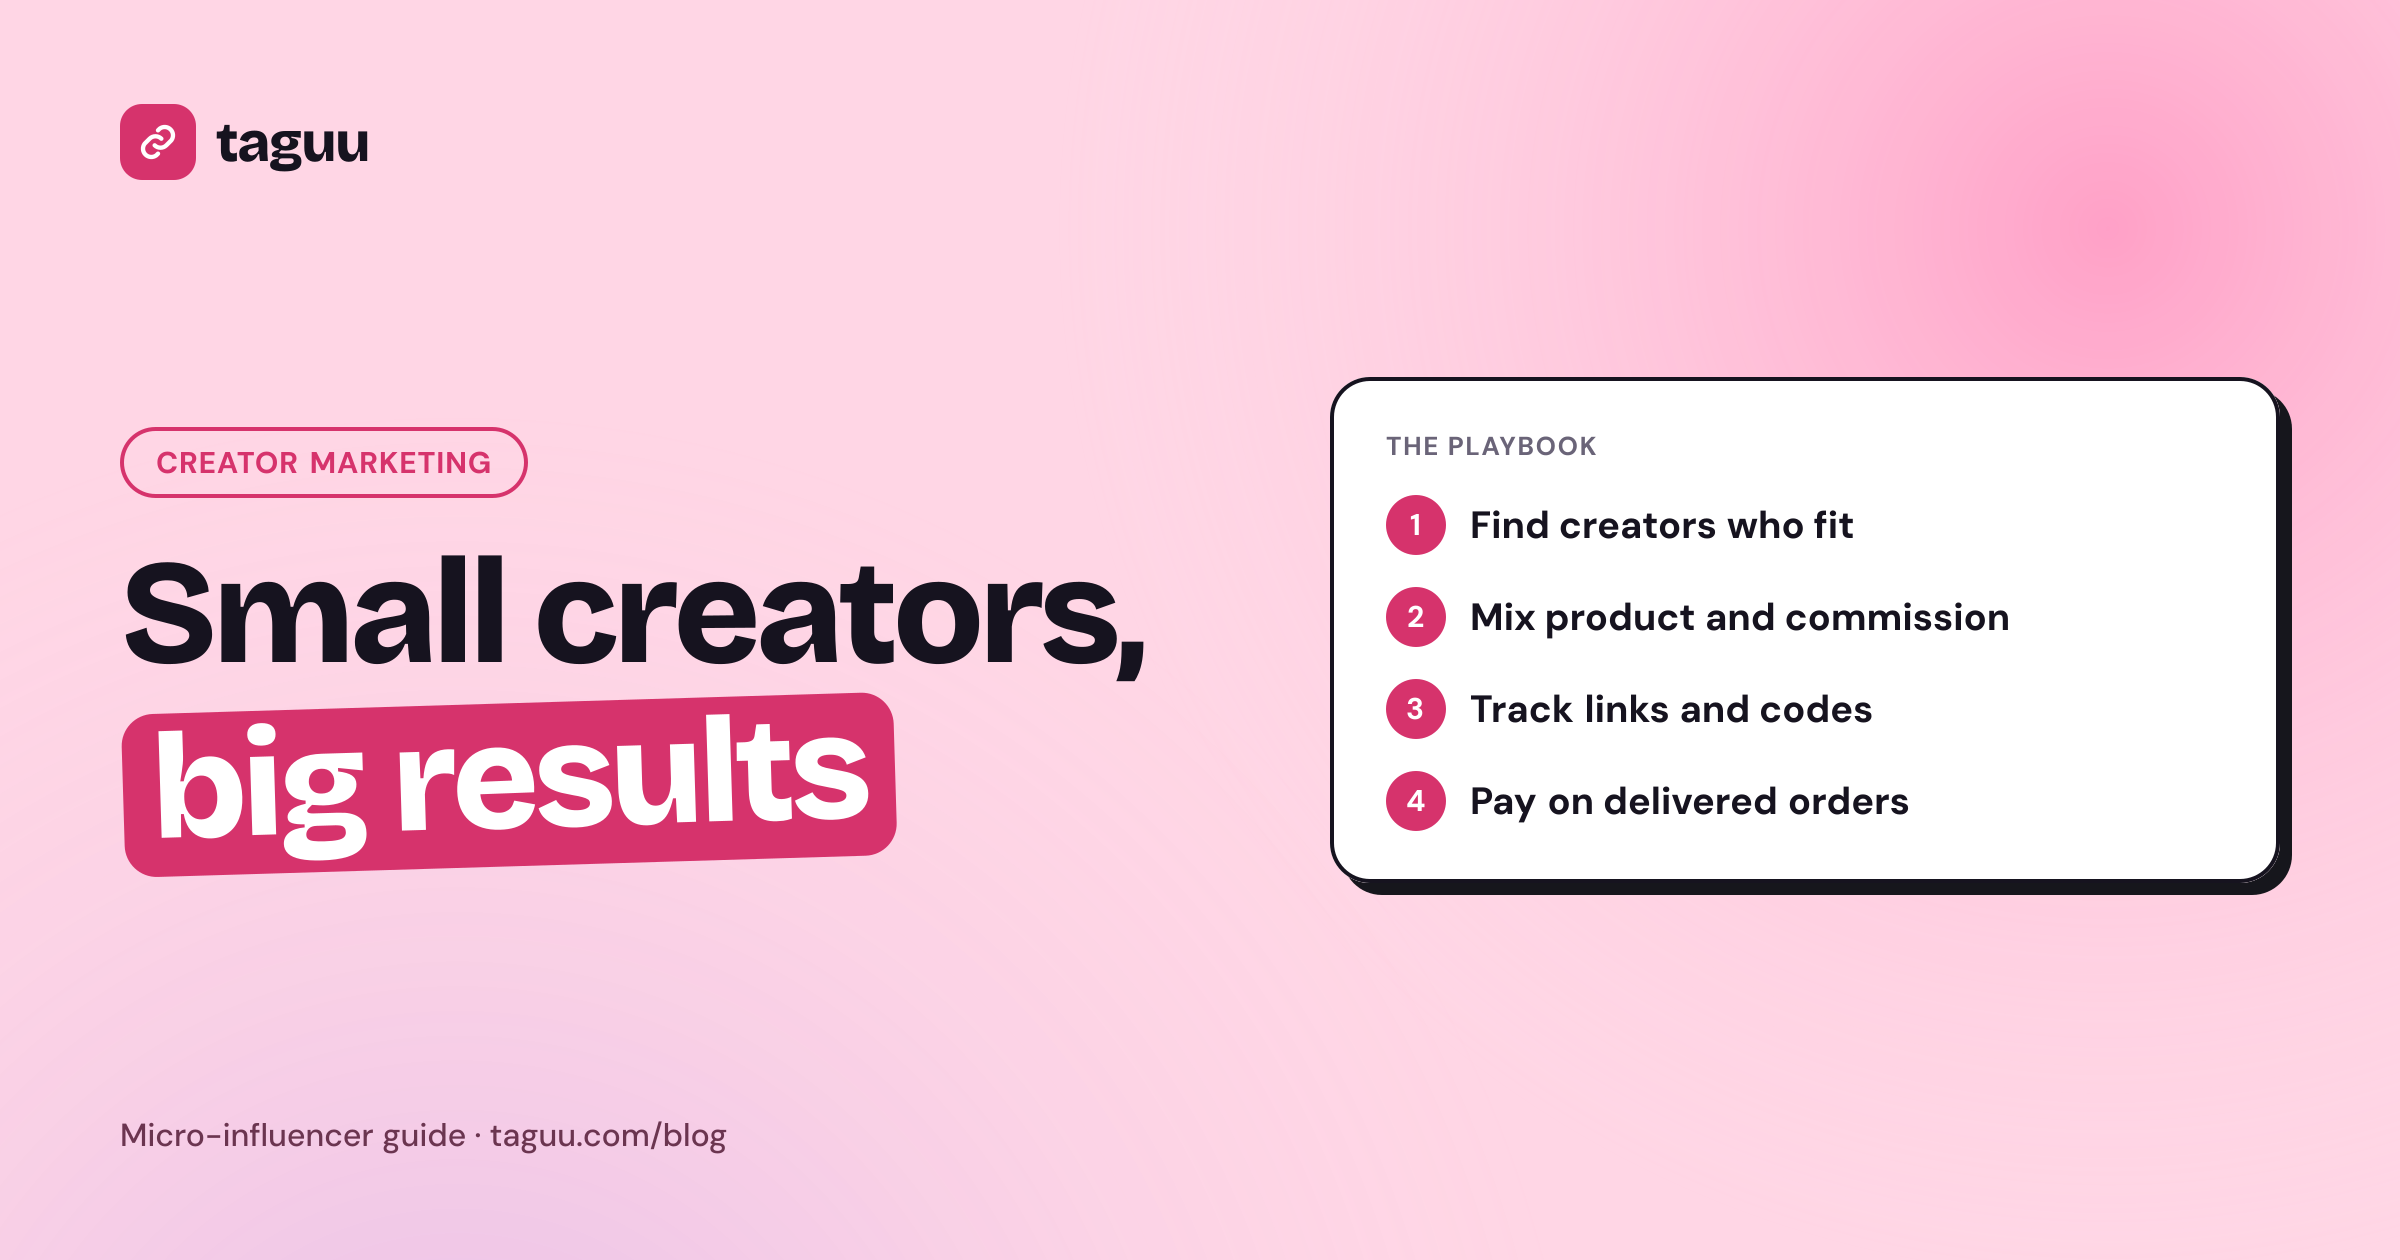
Micro-influencer marketing for small brands is one of the most practical ways to get your products in front of real buyers without a big budget. Instead of paying one famous creator, you work with several smaller creators whose followers trust them. This guide shows you how to find them, what to offer, how to track sales, and how to protect your margins if you sell on cash on delivery (COD).
What is a micro-influencer?
A micro-influencer is a creator with a small but engaged audience. There is no official definition, and sources use different cutoffs. The most common tiers look like this:
| Tier | Typical follower range | Best for |
|---|---|---|
| Nano | 1,000 to 10,000 | Local reach, very personal recommendations |
| Micro | 10,000 to 100,000 | Niche audiences, steady sales, content for ads |
| Macro | 100,000 to 1,000,000 | Broad awareness in a category |
| Mega | 1,000,000+ | Mass awareness, big launches |
Some agencies use narrower bands, such as 5,000 to 50,000 for micro. Treat these numbers as typical starting points, not rules. What matters more than the exact count is whether the creator's audience matches your customer.
Why micro-influencers work for small brands
Small brands usually have three limits: a small budget, a small team, and little room for risk. Micro-influencers fit those limits well.
- Lower cost per creator. Smaller creators often accept free product, a modest flat fee, or a commission on sales instead of a large upfront payment.
- Niche audiences. A creator who only posts about skincare for oily skin, home baking, or budget travel speaks to a very specific group. If that group is your customer, every view is more relevant.
- More trust. Followers of smaller accounts often see the creator as a peer, not a celebrity. Recommendations feel closer to word of mouth.
- Spread risk. Ten creators at a small cost each is less risky than one big creator. If three of them drive most of the sales, you learn who to keep working with.
- Reusable content. Creators make photos and short videos you can use, with permission, on your product pages, emails, and ads.
The trade-off is time. Working with many small creators means more messages, more shipping, and more tracking. A simple system solves most of that, and we cover it below.
If you are new to creator marketing in general, start with our Shopify influencer marketing guide, then come back here for the micro-influencer playbook.
Step 1: Define who you want to reach
Before you search for creators, write down:
- Your customer. Age range, interests, city or region, and the problem your product solves.
- Your goal. Sales, new followers, content for ads, or feedback on a new product. Pick one main goal per campaign.
- Your offer. What you can give creators: free product, a flat fee, a commission, or a mix.
- Your limit. The most you will spend per creator, including product cost and shipping.
This short brief keeps you from choosing creators just because their numbers look good.
Step 2: Find the right micro-influencers
You do not need an expensive database to start. Many good micro-influencers are already close to your brand.
Start with people who already know you
- Your customers. Look at who tags your store, leaves photo reviews, or messages you about your products. Some of them have small but active followings.
- Your followers. Scroll through the people who follow and comment on your account. Check their profiles.
- Your email list. Ask buyers if they create content. A simple line in your post-purchase email can bring in creators who already like your product.
Search the platforms directly
- Hashtags and keywords. Search niche hashtags on Instagram and TikTok, such as your product type plus "review" or "routine."
- Location tags. If you sell in specific cities, search location tags to find local creators.
- Similar accounts. When you find one good creator, look at the accounts they follow and the accounts the platform suggests next to them.
- Comment sections. Creators who leave thoughtful comments on big accounts in your niche are often building their own audience.
For more sources, see how to find affiliates for your Shopify store. Many of the same channels work for micro-influencers.
Step 3: Vet each creator before you reach out
A quick check saves you from wasting product and money. Look at the last 10 to 15 posts and ask:
- Is the audience real? Read the comments. Real comments mention the content. Lots of generic comments like "nice" or emoji-only replies can be a warning sign.
- Is engagement steady? Sudden jumps in followers with no viral post can mean bought followers.
- Does the content fit your brand? Style, tone, and values should feel right next to your product.
- Where is the audience? If you only ship to certain countries or cities, ask the creator for a screenshot of their audience location insights.
- Have they promoted products before? Check how they did it. Do they disclose sponsored posts clearly? Do their followers ask questions about the products?
You do not need perfect numbers. You need a real audience that matches your customer.
Step 4: Choose a payment model
There are four common ways to pay micro-influencers. Many small brands combine them.
Free product (gifting)
You send the product, and the creator decides whether to post. It is low cost, but results are not guaranteed. Gifting works best for starting relationships and for nano creators.
Flat fee per post
You pay a set amount for an agreed post or video. You get predictable content, but you carry all the risk if it does not sell.
Commission on sales (affiliate model)
The creator earns a percentage of each sale they drive. You only pay when a sale happens, so your risk is low. Creators earn more when they put in more effort.
Hybrid
A small flat fee or free product plus a commission. This is often the easiest offer to accept, because the creator gets something upfront and can still earn more.
For help setting your percentage, read our guide to affiliate commission rates. As a typical starting point, many brands test a rate, watch the results for a month, and adjust.
Step 5: Reach out with a clear, short message
Creators get many brand messages. Keep yours short and personal:
- Say why you chose them. Mention a specific post you liked.
- Explain what you sell in one sentence.
- Share the offer clearly: product, fee, commission, or a mix.
- Say what you would like: one post, a short video, or ongoing promotion.
- Make it easy to say yes. Link to your affiliate sign-up page or ask for a shipping address.
Here is a simple template you can adapt:
Hi [Name], I loved your video on [topic]. We make [product] for [customer type]. We would like to send you a free [product] and offer you [X]% commission on every sale through your link. No obligation to post if you do not love it. Interested?
Step 6: Write a simple brief
Once a creator says yes, send a one-page brief. Include:
- Key product benefits in plain words
- Two or three things the creator must mention (for example, the discount code or free delivery)
- Things to avoid, such as medical or health claims you cannot support
- The posting window
- How to disclose the partnership
Leave room for the creator's own style. Their followers trust their voice, not your script.
Disclosure matters
In the United States, the FTC says creators must clearly disclose a "material connection" with a brand. That includes payment, free products, and commissions. Clear labels such as "ad" or "sponsored" are acceptable, and vague signals such as "thanks" are not enough. Many other countries have similar rules, so check the rules where you and your creators operate, and ask creators to disclose every paid or gifted post.
Step 7: Track every sale
Without tracking, you cannot tell which creator is worth keeping. Give every creator:
- A unique link with UTM parameters so you can see their traffic in your analytics.
- A unique coupon code so you can capture sales from people who never click a link, such as viewers who watch a video and type the code at checkout.
Using both is the safest setup. Our guide on affiliate coupon codes vs affiliate links explains when each one works best.
Review results each month. Look at:
- Orders and revenue per creator
- Conversion rate from clicks to orders
- Delivered orders, not just placed orders
- Cost per creator (product, shipping, fees, commissions)
Keep working with the creators who drive delivered sales. Thank the others and move on.
Step 8: Protect your margins on COD orders
If you sell on cash on delivery, a placed order is not a sale yet. Some customers refuse the parcel or cancel before delivery. If you pay creators a commission when the order is placed, you may pay for sales you never receive.
A safer approach for COD stores:
- Pay commission only on delivered and paid orders. Keep commissions "pending" until the courier confirms delivery and the cash is collected.
- Add a short hold period. A few days after delivery covers most returns.
- Reverse commissions automatically for cancelled, refused, returned, or refunded orders.
- Watch for self-referrals. A creator who orders through their own link or code should not earn commission on that order.
- Explain the rules upfront. Creators accept delayed payouts more easily when they know the rules from day one.
This keeps micro-influencer marketing profitable even when refusal rates are high.
Step 9: Turn good creators into long-term partners
One post rarely changes a business. Repeated posts from a creator whose audience trusts them often do. Once you find creators who sell:
- Offer a higher commission tier for top performers.
- Send new products early.
- Pay on time, every time, with a clear payment record.
- Share what worked, such as which video or hook drove the most orders.
- Invite them to bring other creators they know into your program.
Common mistakes to avoid
- Choosing by follower count only. Fit and engagement matter more.
- No tracking. Without links and codes, you are guessing.
- Paying on placed COD orders. Pay on delivered orders instead.
- Over-scripting. Content that sounds like an ad performs like an ad.
- Giving up after one post. Test with several creators over a few weeks before judging.
How Taguu helps
Taguu is a Shopify affiliate app built for COD stores, so you can run a micro-influencer program as an affiliate program:
- A branded sign-up page and an affiliate portal where creators see their orders, earnings, payouts, and links (no customer details shown).
- Affiliate links for any product with UTM and ref code, plus an optional coupon code per creator.
- Commissions stay pending until the order is delivered (and paid for COD), plus a hold period (7 days by default). Cancelled, refused, returned, and refunded orders are reversed automatically.
- Self-referrals get no commission and are flagged.
- Payouts recorded with a reference for bank transfer, mobile wallets, or PayPal.
There is a Free plan for up to 50 affiliate orders per month, and 0% fee on sales on every plan. Install Taguu to start.
FAQ
How many followers does a micro-influencer have?
Most sources define a micro-influencer as having about 10,000 to 100,000 followers. Some use narrower ranges, such as 5,000 to 50,000. Audience fit matters more than the exact number.
How much should a small brand pay micro-influencers?
It depends on your margins and the creator. Many small brands start with free product plus a commission on sales, which keeps upfront costs low. Test, measure delivered sales, and adjust.
Is gifting enough, or should I pay a commission?
Gifting is good for starting relationships, but results are not guaranteed. Adding a commission gives creators a reason to keep promoting and lets you pay only for real sales.
How do I track micro-influencer sales on Shopify?
Give each creator a unique tracked link and a unique coupon code. An affiliate app can then match orders to creators and calculate commissions automatically.
Do micro-influencers need to disclose sponsored posts?
Yes. In the United States, the FTC requires creators to clearly disclose payment, free products, or commissions. Many other countries have similar rules, so ask every creator to label paid or gifted posts.